

Do you have enough of your loved ones prying into your phone conversations? These situations, however, can be very annoying, particularly if your gadgets contain sensitive data.
A privacy screen can help conceal your sensitive information from inquisitive eyes and provide a bit extra seclusion in these situations.
There are a few settings adjustments you can do on your iOS devices if you’ve already installed a privacy screen protector on your iPhone but want to take additional precautions to secure your data.
So let’s explore the many techniques in this post to gain device control while safeguarding your data on your iPhone and iPad.
How Do I Turn On My iPad’s and iPhone’s Privacy Screen?
Keeping all of your apps locked is the best way to implement a privacy screen. Nevertheless, iPhones lack an easy method for locking apps, in contrast to Android smartphones. However, there are still a few workarounds that you can use to get past this problem. Shortcuts, supervised access, screen time limits, and more features are available.
So let’s take a closer look at each of these approaches below.
How to Make Password for iPhone?
Make sure your device has a lock screen password configured before we start the app lock approaches. Making a robust PIN code that is unpredictable and difficult to crack is what we advise. In addition, Touch or Face ID access varies based on the model of your iPhone. For simpler access, you can activate these features.
- Using your device, launch the Settings app.
- Click on Touch ID/Face ID & Passcode.
- Toggle the Passcode On option by swiping down.
- To verify your passcode, enter it once more.
- Turn on the iPhone Unlock option by toggling it on from the same page under the Use Touch/Face ID section.

Here, simply follow the directions displayed on the screen to be done.
Also Read: Unlocking the Secrets of MP4 Files
How to Hide Default Apple Apps?
Turning on the content and privacy limitations feature can be the ideal solution for you to use if there are any default Apple apps that you wish to keep off your iPhone. Compared to locking apps, this strategy is a little different. Even if you perform a thorough search on your smartphone after disabling the app using this setting, you won’t find it.
Using iOS 12 and the latest Versions
- Open the Settings application on your gadget.
- Press the “Screen Time” button.
- The iPhone’s Screen Time option
- Click on Turn on Screen Time and follow the on-screen instructions if you haven’t already enabled screen time.
- Select Content & Privacy Restrictions by swiping down.
- Turn on the Content and Privacy Restrictions toggle.
- Press the Allowed Apps button now. Activate the Content and Privacy Limitations
If you wish to remove an app from your device, disable its toggle. - To view the modifications, quit the Settings Menu.

IOS 11 and Previous Versions
- Launch the Settings application.
- After swiping down, select General.
- Now, select the Restrictions option by scrolling down once more.
- Toggle the Restrictions toggle to enable.
- To verify the passcode, type in a new password and enter it again.
Turn on Guided Access
You can keep your iPhone in one app with the helpful guided access function. Consequently, in the event that you lack the necessary passcode, Touch ID, or Face ID to leave this function, it becomes difficult to access your other apps surreptitiously. Thus, this is what you must do to activate this feature.
Install Guided Access
- Navigate to the Settings app on your mobile.
- After swiping down, select Accessibility.
- Once more, scroll down and select the Guided Access option under the General section.
- Activate the Guided Access toggle.
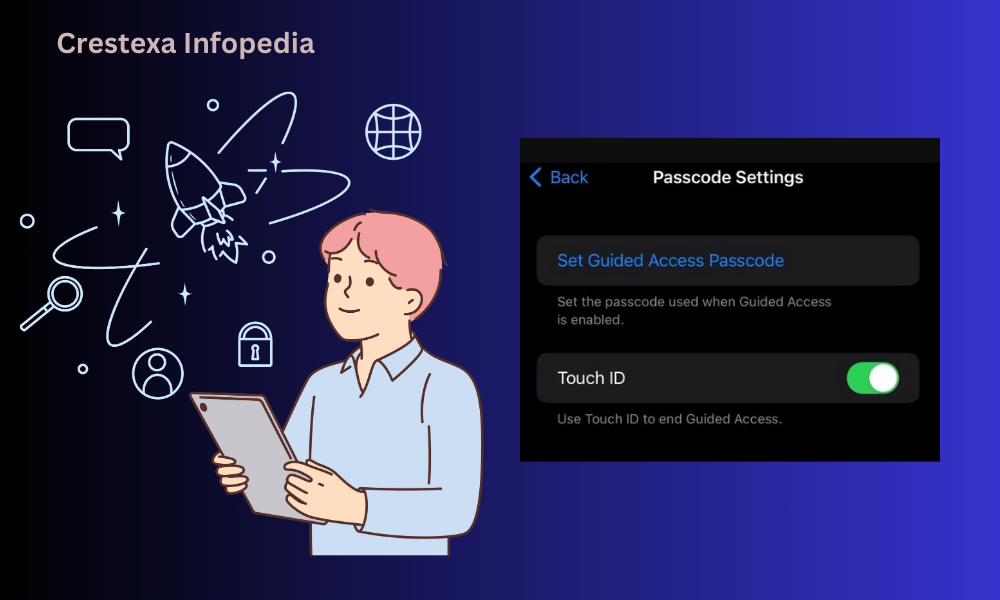
- Press the Passcode Settings menu item.
- To set a guided access passcode, click on it.
- To verify your passcode, enter it once more.
- You will see the Touch ID or Face ID option based on the model of your iPhone or iPad. Thus, if you wish to disable guided access by utilizing these capabilities, turn on the toggle.
Make use of Guided Access
- Navigate to the app that you have chosen.
- You can triple tap the power or home buttons to start guided access.
- In the upper-right corner, tap the Start option.
- You will no longer be able to navigate away from the screen or open other apps.
- Likewise, you can triple-tap your power or home buttons to get out.
- Use your Touch ID or Face ID to log out or enter your passcode.
Employ shortcuts
Making shortcuts that trigger automatic app locks whenever a user opens a particular programme is an additional helpful method of locking applications. This process can be started in one or more apps. Because you simply need to create the shortcut settings and make adjustments in your clock app, this process is also very simple to follow.
Establish an App Lock Shortcut
- Using your device, find the Shortcuts app and open it.
- Navigate to the Automation tab and select “Create Personal Automation.”
- After swiping down, tap the App icon.
- To choose the apps you wish to lock, touch the Choose option now.
- After selecting the app, press the Done button.
- From your screen’s upper-right corner, tap the Next button.
- Select the Add Action button by tapping it.
- Proceed to enter Timer into the search box.
- From your results, choose Start Timer. Look up the “Start Timer” option.
- Select one second as the time from the drop-down menu and press the Next button.
- Disable the “Ask Before Running” toggle.
- Lastly, press the “Done” button.
Set up in the Clock App
- Go to the Clock app once the automation is configured.
- Navigate to the Timer tab, which is situated near the bottom.
- Tap, scroll to the bottom of the When Timer Ends section, and choose the Stop Playing option.
- To apply the changes, click the Set button at the end.
Use the shortcuts to access the app you just locked to give it a try. It will open for a split second before locking your phone. You will therefore need to unlock your phone using either Face ID, Touch ID, or a passcode in order to access it.
Turn on Screen Time Limitations
Enabling a screentime restriction might be quite useful if you want to set aside a certain amount of time to utilise certain apps. Your iOS device will lock once the designated amount of time has passed, requiring you to input the passcode in order to access the app again.


